
I recently upgraded from my little ol’ CenturyLink 40/5 connection to Verizon’s 5G Home Internet which came with their Internet Gateway (the big white cube). With CenturyLink, I had the modem set up in Bridge mode, piping my connection directly to a NUC running Sophos XG. I wanted to maintain my single-NAT set up if at all possible, and still maintain some of my public facing services (like Home Assistant).
Before the trick…
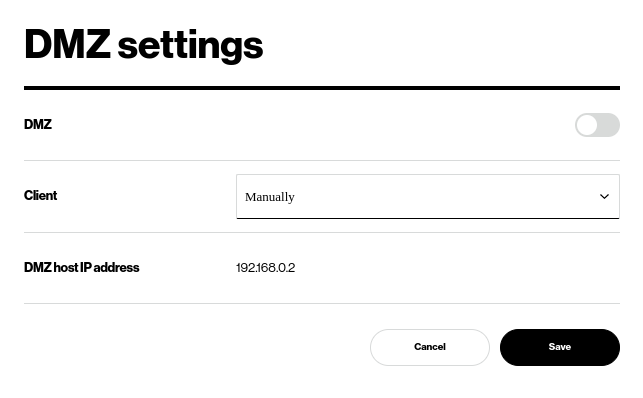
Initially I didn’t see any settings for bridge mode, and after scouring the interwebs and a few Reddit posts, found that really the best way was to put my XG into the DMZ of the Internet Gateway and, while still double-NAT’ed, would accomplish the task.
So I set a static IP on the XG’s port connected to the Internet Gateway, logged into the Gateway and set that IP as the DMZ, and I was as happy as a pig in mud. Stuff seemed to be working okay, and I was on my way.
Finding the trick…
I had accidentally right-clicked on the page and realized that a context menu didn’t pop up. Verizon was attempting to prevent anything related to the context menu; as a web developer, I’ve seen companies attempt this to try and prevent people from viewing the source, even though it’s pointless with dev tools in Chrome, Firefox and Edge these days. So that immediately got me suspicious; what are they trying to hide?
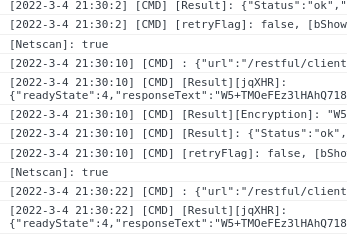
Chrome is my browser du jour, so I hit F12 to bring up the developer tools, and I was greeted with a whole slew of crap in the console…
I flipped over to the Elements tab and started digging through the source to see what they were hiding; little did I know they were actually hiding stuff!
Enabling “Bridge” mode…
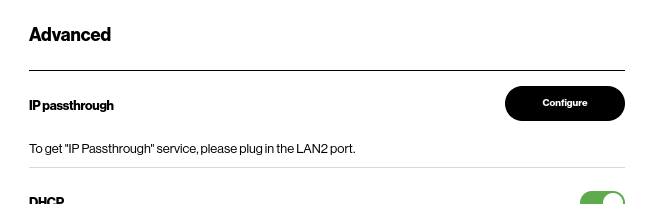
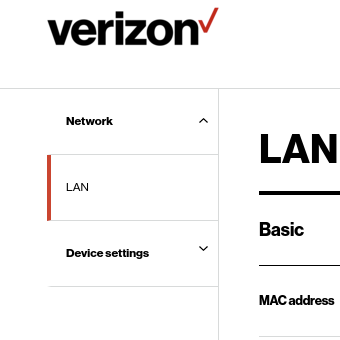
I started combing through different pages and something caught my eye on the Network > LAN page - IP Passthrough mode. That sounded pretty similar to Bridged mode to me, and it was hidden at that. Let’s un-hide it and see what that’s all about!
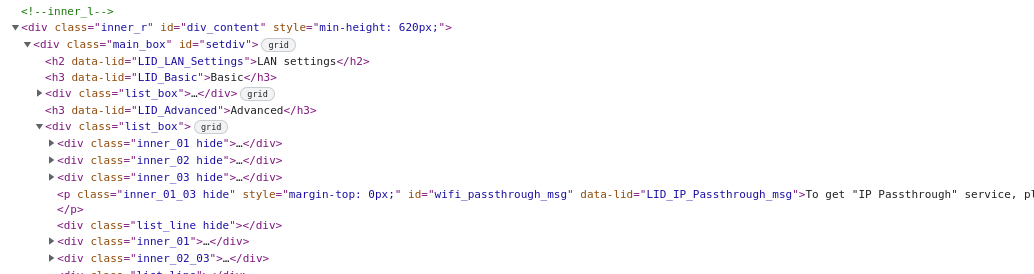
If you’re not familiar with how to tweak and un-hide this, it’s dead simple - simple double-click on the class attribute, delete the word hide and then hit enter. Do this for all the elements in the screenshot above that have the hide class on them. Now see what we get in our UI!
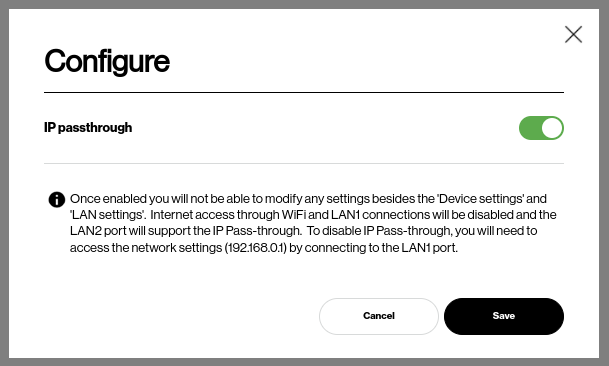
Simply click on that Configure button, enable the pass through option, and hit save. You’ll get a warning pop up that tells you that pretty much every option in the admin panel disappears, WiFi will be disabled and some other things. Works for me! Like the text in the modal stated, you must have your router plugged into LAN port 2 for this to work right.
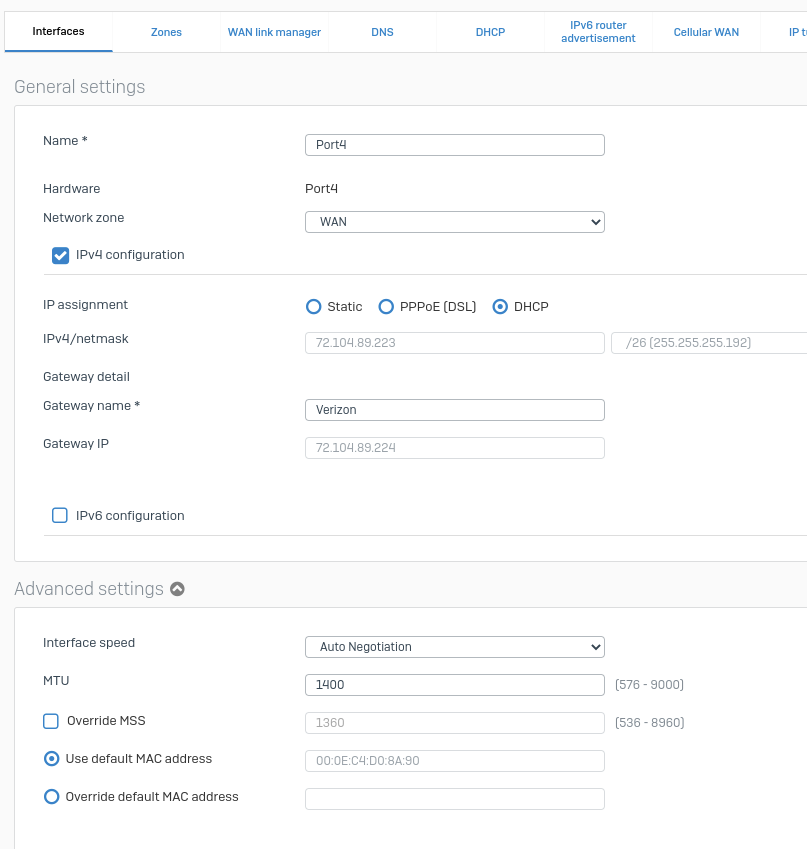
Once that is done, simply go to your internal device and enable DHCP and you’re good to go! You might want to play with your MTU a bit too. Not sure if it’s strictly necessary, but I tuned mine down to 1400 after reading this article on enabling Bridge mode on Verizon’s other 5G Home Internet device.
Extra fun stuff…
So in the image above where it states that you can only access the settings from LAN port 1 on address 192.168.0.1, it’s a total lie. I can continue to access the Verizon Internet Gateway by going to 192.168.0.1 without having to jack in to port 1, or set it up as an additional interface in my XG or anything like that. It just continues to work. And as the prompt stated, there’s almost no settings to play with, and you have to repeat the above if you want to disable passthrough.
Hopefully this helps some other souls who make the jump and still want to maintain their control without double-NAT. Let me know in the comments below if this helped you out!